

Choose recipients
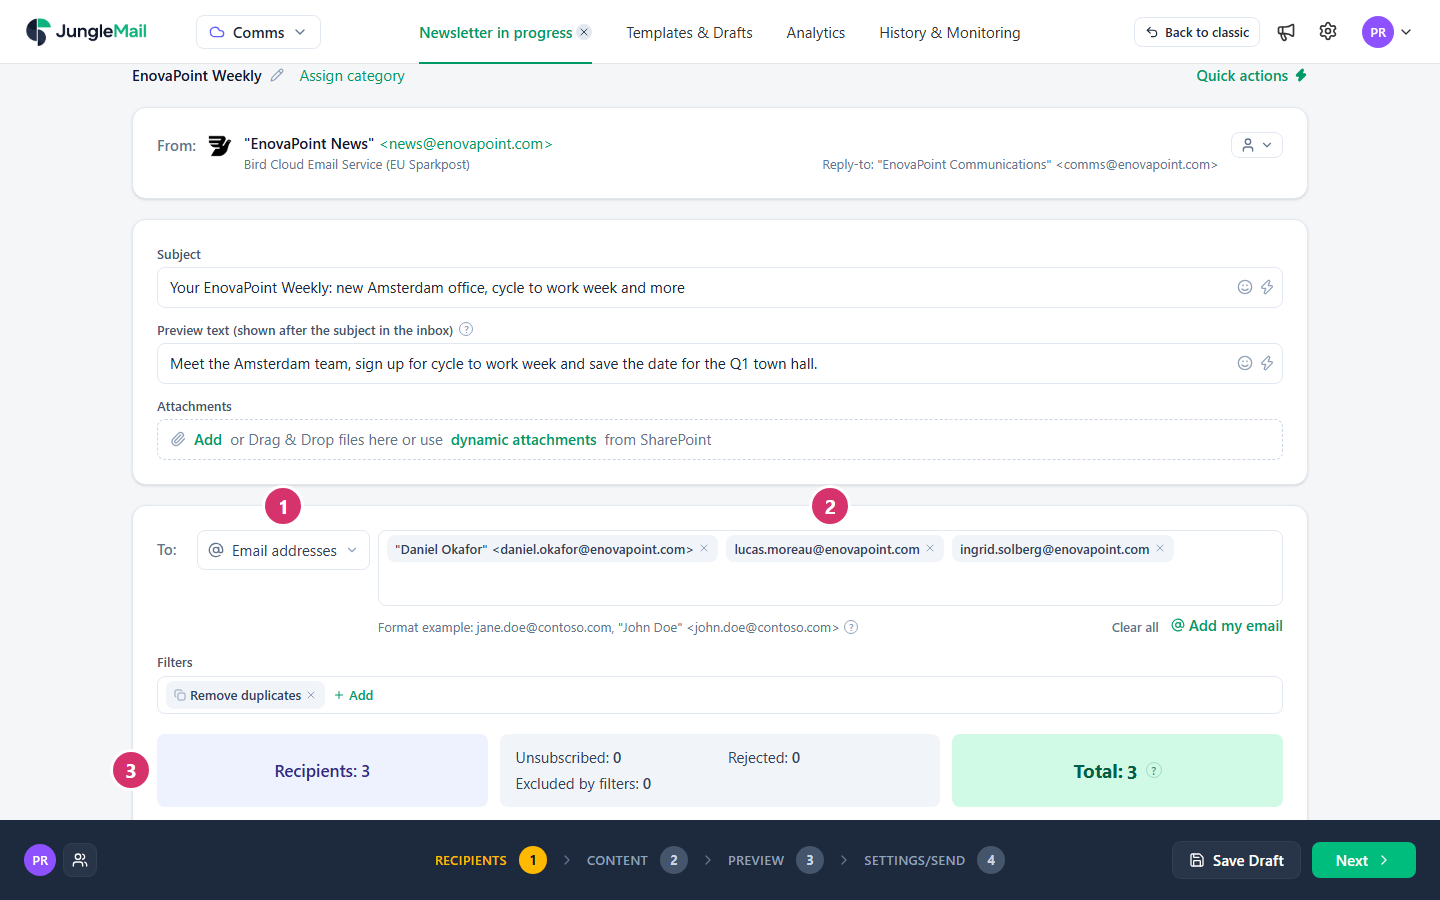
You choose recipients in the To field of the newsletter wizard’s Recipients step: first where they come from, the recipient source, then the recipients themselves. For a team, an office or the whole organization, choose its group: JungleMail 365 reads the members when it sends the newsletter, so people who joined get it and people who left don’t. Type addresses for a few people, and use a file for a list kept outside Microsoft 365, such as event registrations. The example sends to three people by email address.
Choose them
Section titled “Choose them”In the newsletter wizard, go to the Recipients step.
-
Open the list next to To and select where the recipients come from:
Source Sends to Microsoft 365, AD groups Microsoft 365 groups, distribution groups and security groups from Microsoft Entra ID SharePoint list The people in a SharePoint list Exchange groups Exchange groups, including dynamic distribution groups Dynamics 365 Contacts, accounts, leads, marketing lists and campaigns in Dynamics 365 Email addresses Addresses you type or paste File The addresses in a CSV, TXT or Excel file Previous newsletter People from an earlier newsletter, by what they did: opened it or not, clicked or not Your list can be shorter: an administrator decides which sources your organization uses. A site that keeps its own subscribers also offers Subscribers. Groups, SharePoint lists and Dynamics 365 need a connection that a site administrator sets up once. Until then, the wizard says so; for groups, for example, it shows Microsoft Entra ID Connection is not enabled. with Go to Connections…, where a site administrator sets it up.
-
Choose the recipients. For Email addresses, type or paste the addresses, separated by commas. To show a name, put it in quotes before the address:
"Daniel Okafor" <daniel.okafor@enovapoint.com>. Add my email adds yours. Each of the other sources has its own article under Recipients; with most of them, Additional recipients takes addresses that receive the newsletter as well. -
Check the counts below:
- Recipients: everyone the source contains, with Additional below it for addresses you added.
- Unsubscribed and Rejected: people left out because they unsubscribed, or because their address was rejected before (Manage unsubscribes and rejections).
- Removed duplicates, when there are any: second copies of the same address, which the Remove duplicates filter leaves out. It is on by default.
- Excluded by filters: people your other filters leave out; select Add under Filters to add one (Filter recipients).
- Total: everyone who will receive the newsletter.
If Total is lower than you expect, see Some recipients are missing.
- Filter a group rather than ask for a new one. To reach part of a group, such as the London office in All Employees, add a condition under Filters (Send to some people in a group only).
- Remind only those who haven’t acted. On the Pro and Enterprise plans, Previous newsletter reaches, for example, the people who didn’t select the registration link in an invitation (Follow up on a previous newsletter).
- Stay under 5,000 with a Microsoft 365 sending account. By default, a newsletter to more recipients can’t be sent through one (Limits and file sizes). The type of account shows under the address in From; for a larger Total, choose an address on a JungleMail mail server, if your site has one (Choose a sending account type).
- Check your plan before you send to a new list. Each address counts once a quarter toward your plan’s unique recipients: once EnovaPoint’s employees have had a newsletter this quarter, more newsletters to them add nothing, while a file of partner contacts adds every new address in it (How unique recipients are counted).